How do you change your Apple Watch band?
Changing your Apple Watch band is the process of removing the existing band from the Apple Watch, then replacing it with another one.
Throughout this guide, we will go through all the steps involved in handling Apple Watch bands. First, we will cover the techniques for correctly removing and fitting a band, distinguishing flexible Apple Watch bands from rigid Apple Watch bands. Next, we will deal with difficulties such as stuck bands or bands that are hard to insert, before discussing size adjustments and link management.
How do you remove your Apple Watch band?
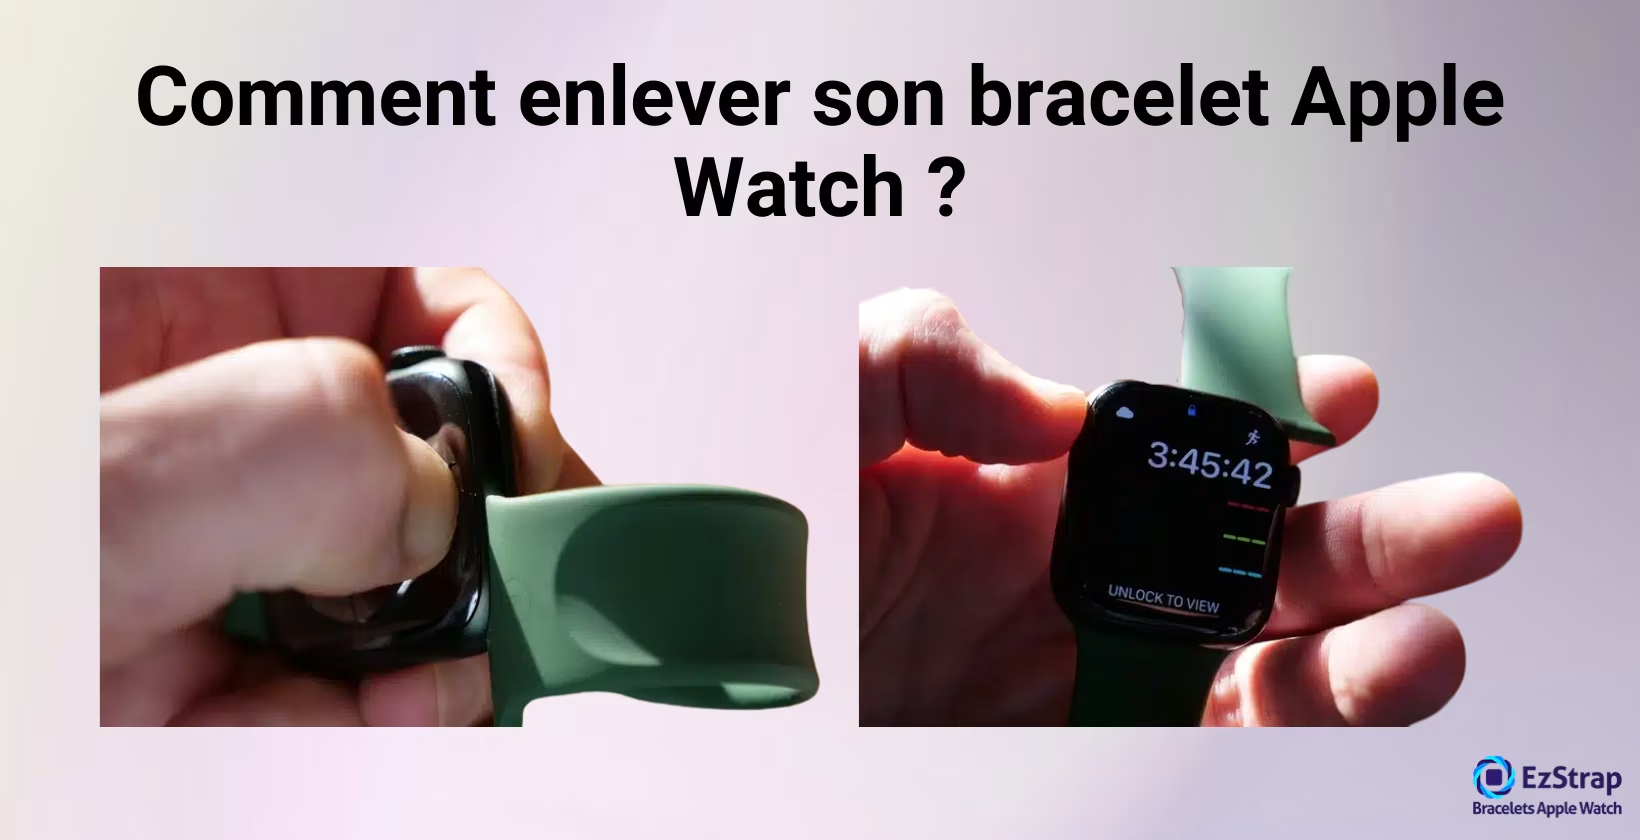
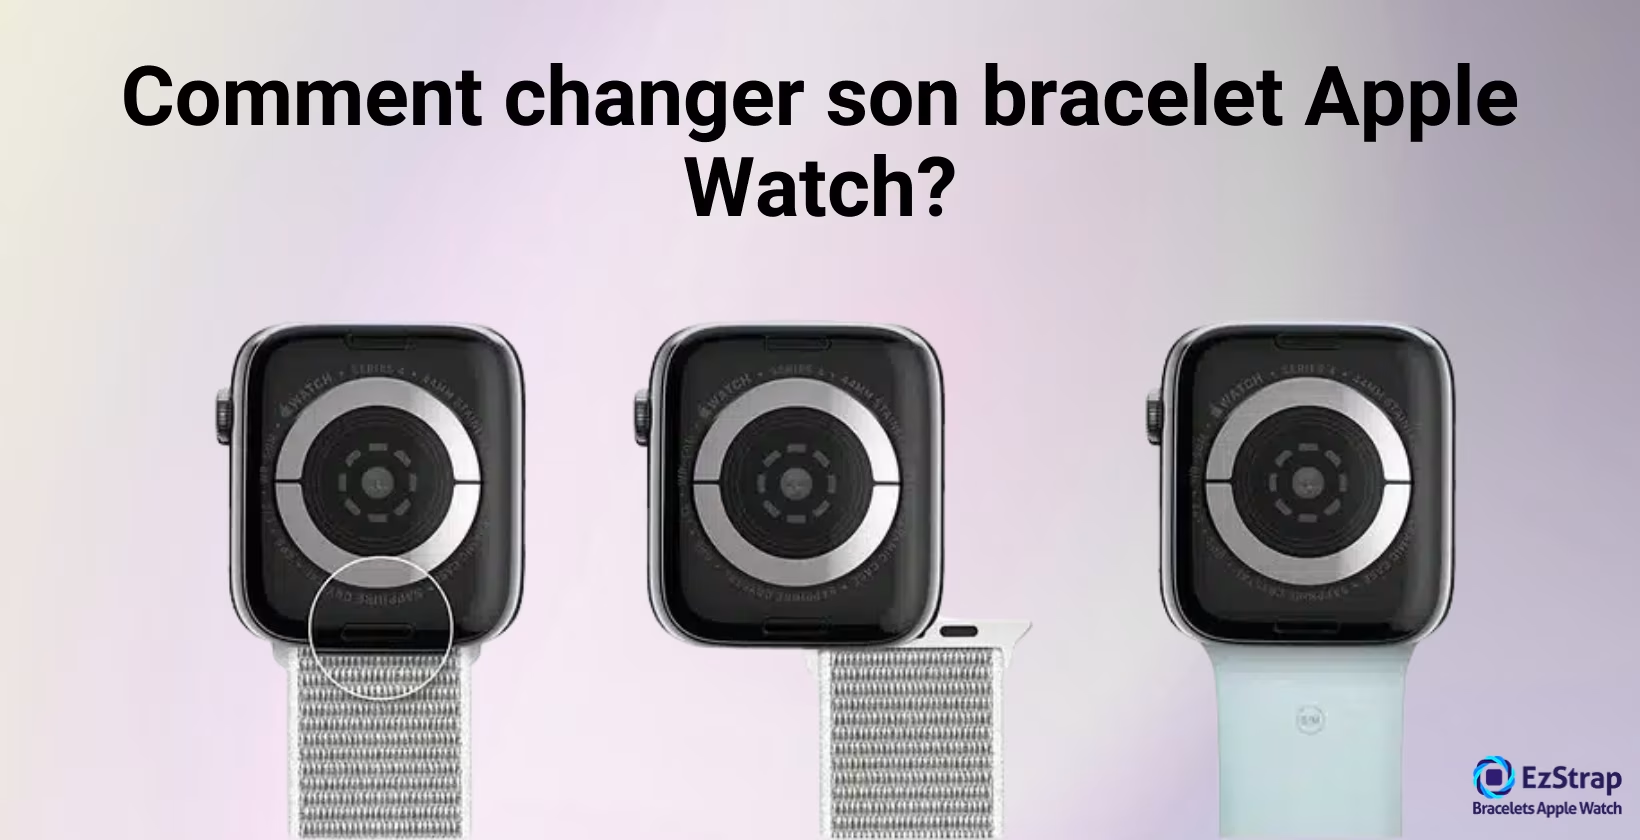
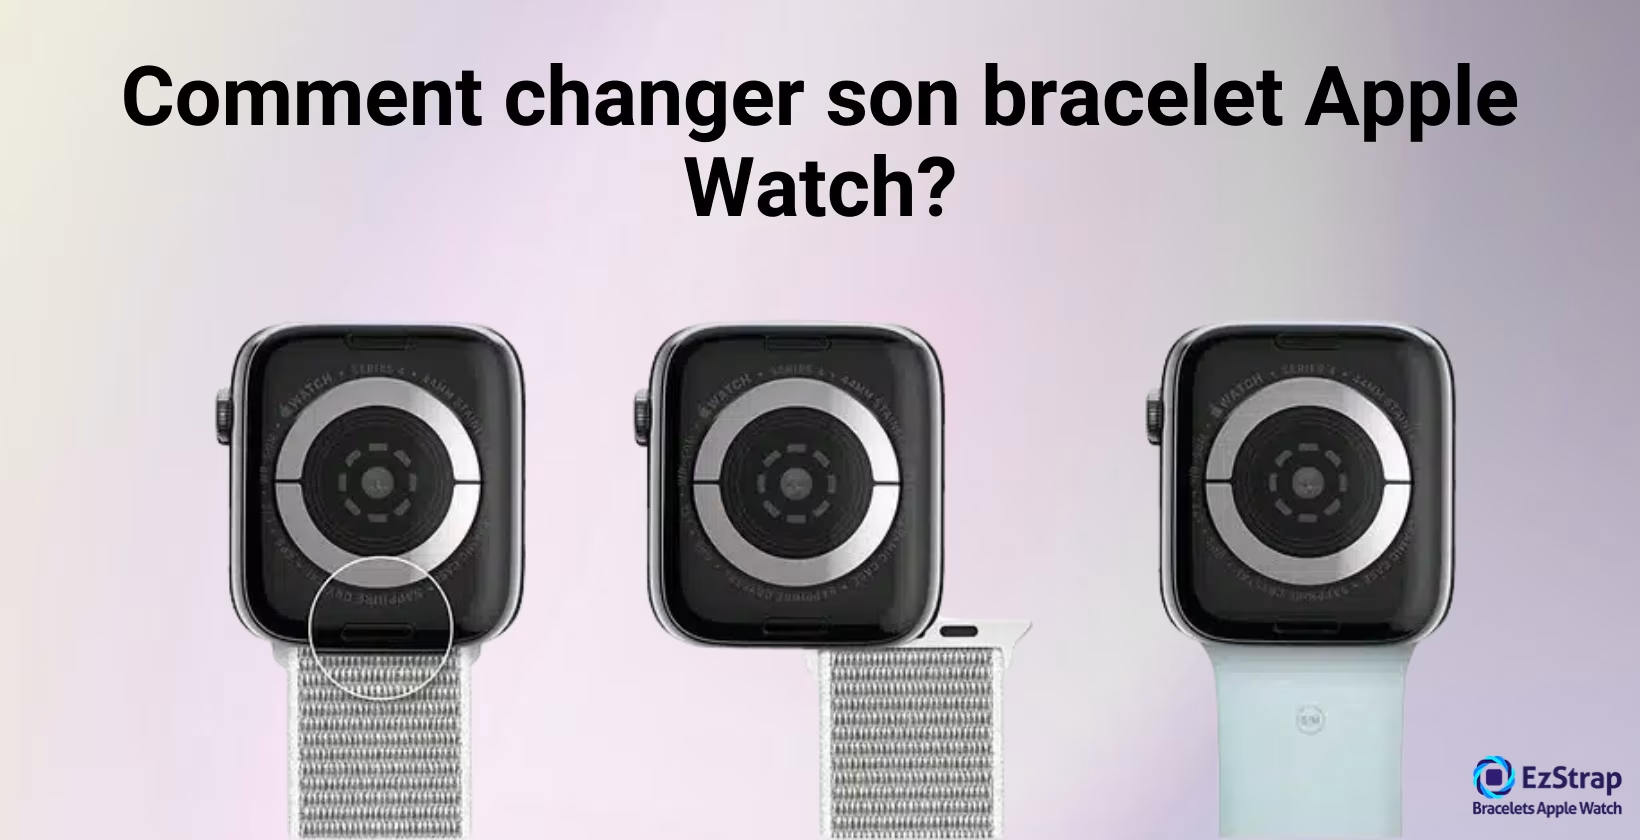
Removing the Apple Watch band is done using the release mechanism (the pill-shaped button) built into the watch case. Carefully operating the release button, located on the back of the Apple Watch, lets you detach each section of the band safely. A clean work surface and a controlled movement ensure the band comes off without any risk of damaging the mechanism.
- Lay the Apple Watch face down on a clean surface
- Locate the oval release button on the back of the watch
- Keep the band release button pressed firmly down
- Gently slide the band outwards to remove it
- Repeat the process on the second part of the band
- Make sure the band slides out easily without forcing it
- If it does not, release the button and press it again
How do you free a stuck Apple Watch band?
A stuck Apple Watch band in its slot is often caused by dirt deposits, residue or a temporary jam in the release mechanism. This situation calls for a gradual method combining thorough cleaning with careful handling of the release system. The following steps aim to free the stuck band without damaging the watch components.
- Turn off the Apple Watch and remove the protective case
- Brush and rinse the release button with a soft brush or a cotton bud
- Press firmly and keep the pressure on the button while gently moving the band
- Run hot water over the release button for 15-20 seconds
- If hot water does not work, wipe a cotton bud soaked in isopropyl alcohol over the mechanism
- Move the band back and forth while keeping the pressure on
- Contact Apple Support or visit an Apple Store as a last resort
How do you fit an Apple Watch band?
Fitting an Apple Watch band varies depending on the type of band used: two-part or flexible models are attached one after the other, one side at a time, whereas rigid one-piece bands are fitted by inserting both halves of the band into the slots at the same time. The rigidity of these bands means you cannot slide one side fully in and then the other.
1. Flexible bands (Sport, Sport Loop, classic leather)
Flexible bands are very simple to fit: you just slide one side in first, then the other, to put on your Apple Watch band. Here are the steps to follow.
- Place the Apple Watch on a clean surface
- Check that the band is compatible with the case size
- Line up one end of the new band with the attachment point
- Gently slide the band in until it clicks into place
- Repeat the process for the second part of the band
- Check that both sides are properly engaged and secure
- Test how secure the installation is by gently pulling on the band
2. Rigid bands (deployant clasps, metal links)
Rigid bands are more demanding and require both parts of the Apple Watch band to be slid in at the same time. Here are the steps to follow.
- Place the Apple Watch on a clean surface
- Check that the band is compatible with the case size
- Line up one end of the new band with the attachment point
- Gently slide the band in as far as halfway along the slot. It is important not to push the band all the way in
- Repeat the process by engaging the other side halfway along the slot as well
- Push on both sides of the band at the same time until both parts click into place
- Check that both sides are properly engaged and secure
- Test how secure the installation is by gently pulling on the band
What should you do when the Apple Watch band does not fit into the watch?
Problems inserting an Apple Watch band can be due to various technical factors: size incompatibility, an obstructed locking mechanism, misaligned connectors, poor-quality bands. This type of problem calls for a systematic approach to identify the cause and apply the right solution while avoiding damage to the fixing components. To avoid quality problems with bands that are hard to insert, make sure to choose your Apple Watch band carefully.
- Make sure the band is the right size for the Apple Watch case
- Brush the connectors and the insertion slot
- Check the alignment of the metal part of the band
- Gently insert the band, listening for the click
- Check the connector spring by pressing on it
- Repeat the process for the other side of the band
- Contact Apple Support as a last resort
How do you adjust your Apple Watch band?
Adjusting an Apple Watch band means adjusting the length of the band to ensure comfort and the accuracy of the health sensors. Before you begin, make sure you have your Apple Watch, a compatible band and, if possible, a tape measure to measure your wrist. The end goal is to ensure a secure fit without being too tight.
-
Measure your wrist circumference With a flexible tape measure, wrap it around your wrist where the Apple Watch will sit. Note the measurement in millimetres.
-
Use the matching formula Formula: Band size = wrist circumference – (case width) Parameters: case width (40mm, 44mm, 45mm, 49mm) and desired tolerance (tighter or looser). E.g.: 170mm wrist with a 44mm case → 170 – 44 = 126mm usable band length.
-
Select the right notch or adjustment For a link band, add or remove links to get closer to the calculated length. For a perforated band or one with a magnetic clasp, choose the hole or position closest to the value obtained.
-
Test the comfort and accuracy Wear the Apple Watch for a few minutes: the band should hold firmly without pain or pronounced marks. Check that the sensors on the back of the Apple Watch stay in good contact with the skin.
How do you change the size, and remove and add links on your Apple Watch band?
To change the size of a metal Apple Watch link band, you need to remove or add individual links for an optimal fit. The process uses the removable pin system that holds each link in place. A specialist pin adjustment tool and a stable work surface ensure precise handling without damaging the band.
- Measure your wrist to work out how many links to adjust
- Get the tools you need: pin pusher, fine pliers, soft cloth
- Lay the band on a stable surface with the arrows visible
- Insert the removal tool into the hole of the link, following the arrows
- Gently push the pin out to release the link to be removed
- Repeat the process on any additional links, keeping both sides balanced
- Reassemble the band by putting the pins back into the remaining links
How do you clean your Apple Watch band?
Regularly cleaning your Apple Watch band keeps it looking good, extends its lifespan and prevents the build-up of bacteria caused by everyday wear. Each material requires particular care so as not to damage it while ensuring good hygiene.
-
Silicone or fluoroelastomer bands Being water-resistant, these materials can withstand more vigorous cleaning. Remove the band, then clean it with lukewarm water mixed with soap, and if necessary a soft toothbrush for ingrained dirt. Rinse thoroughly and dry well before putting it back on.
-
Genuine leather bands Natural materials are delicate and must be handled with care. Use only a soft, non-abrasive cloth lightly dampened with lukewarm water, taking care never to immerse the band, and let it dry completely away from heat and excessive humidity.
-
Metal bands (steel, titanium) Care is carried out with a soft cloth and lukewarm water, taking care to dry thoroughly to avoid marks. Isopropyl alcohol wipes at 70% can be used for disinfection, but not products containing bleach.
-
Woven bands (Sport Loop, fine weave) Dilute 5ml of liquid detergent in 250ml of water, gently clean with a cloth soaked in the solution, rinse with a cloth dampened with clean water and leave to dry flat for at least 24h.
This tailored approach preserves the characteristics of each material while ensuring optimal hygiene for comfortable everyday wear.